Running a Web Scan
The English user guide is currently in beta preview. Most of the documents have been automatically translated from the Japanese version. Should you find any inaccuracies, please reach out to Flatt Security.
This feature is only available to organizations that have subscribed to the Web Application Scanning feature.
Setup
Here are the steps required before running a Web scan:
- Register a web application (see Registering a Web Application).
- Register endpoints to scan (see Identifying Endpoints to Scan).
- Verify ownership of the web application to be scanned.
Verifying Ownership of Your Web Application
Shisho Cloud requires proof of ownership of the application being scanned to prevent malicious use of this scanning feature. Shisho Cloud verifies ownership before running the scan. If verification fails, the scan will not start, and the scan job will end. Verification is performed against the host of the registered endpoint. If the endpoint consists of multiple hosts, each host is verified.
There are two ways to verify ownership. Ownership is proven if either of these methods is satisfied for all hosts of the application:
- The host of the web application to be scanned resides on a cloud resource linked to Shisho Cloud.
- The host of the web application to be scanned returns the expected response when a request is sent to a verification URL.
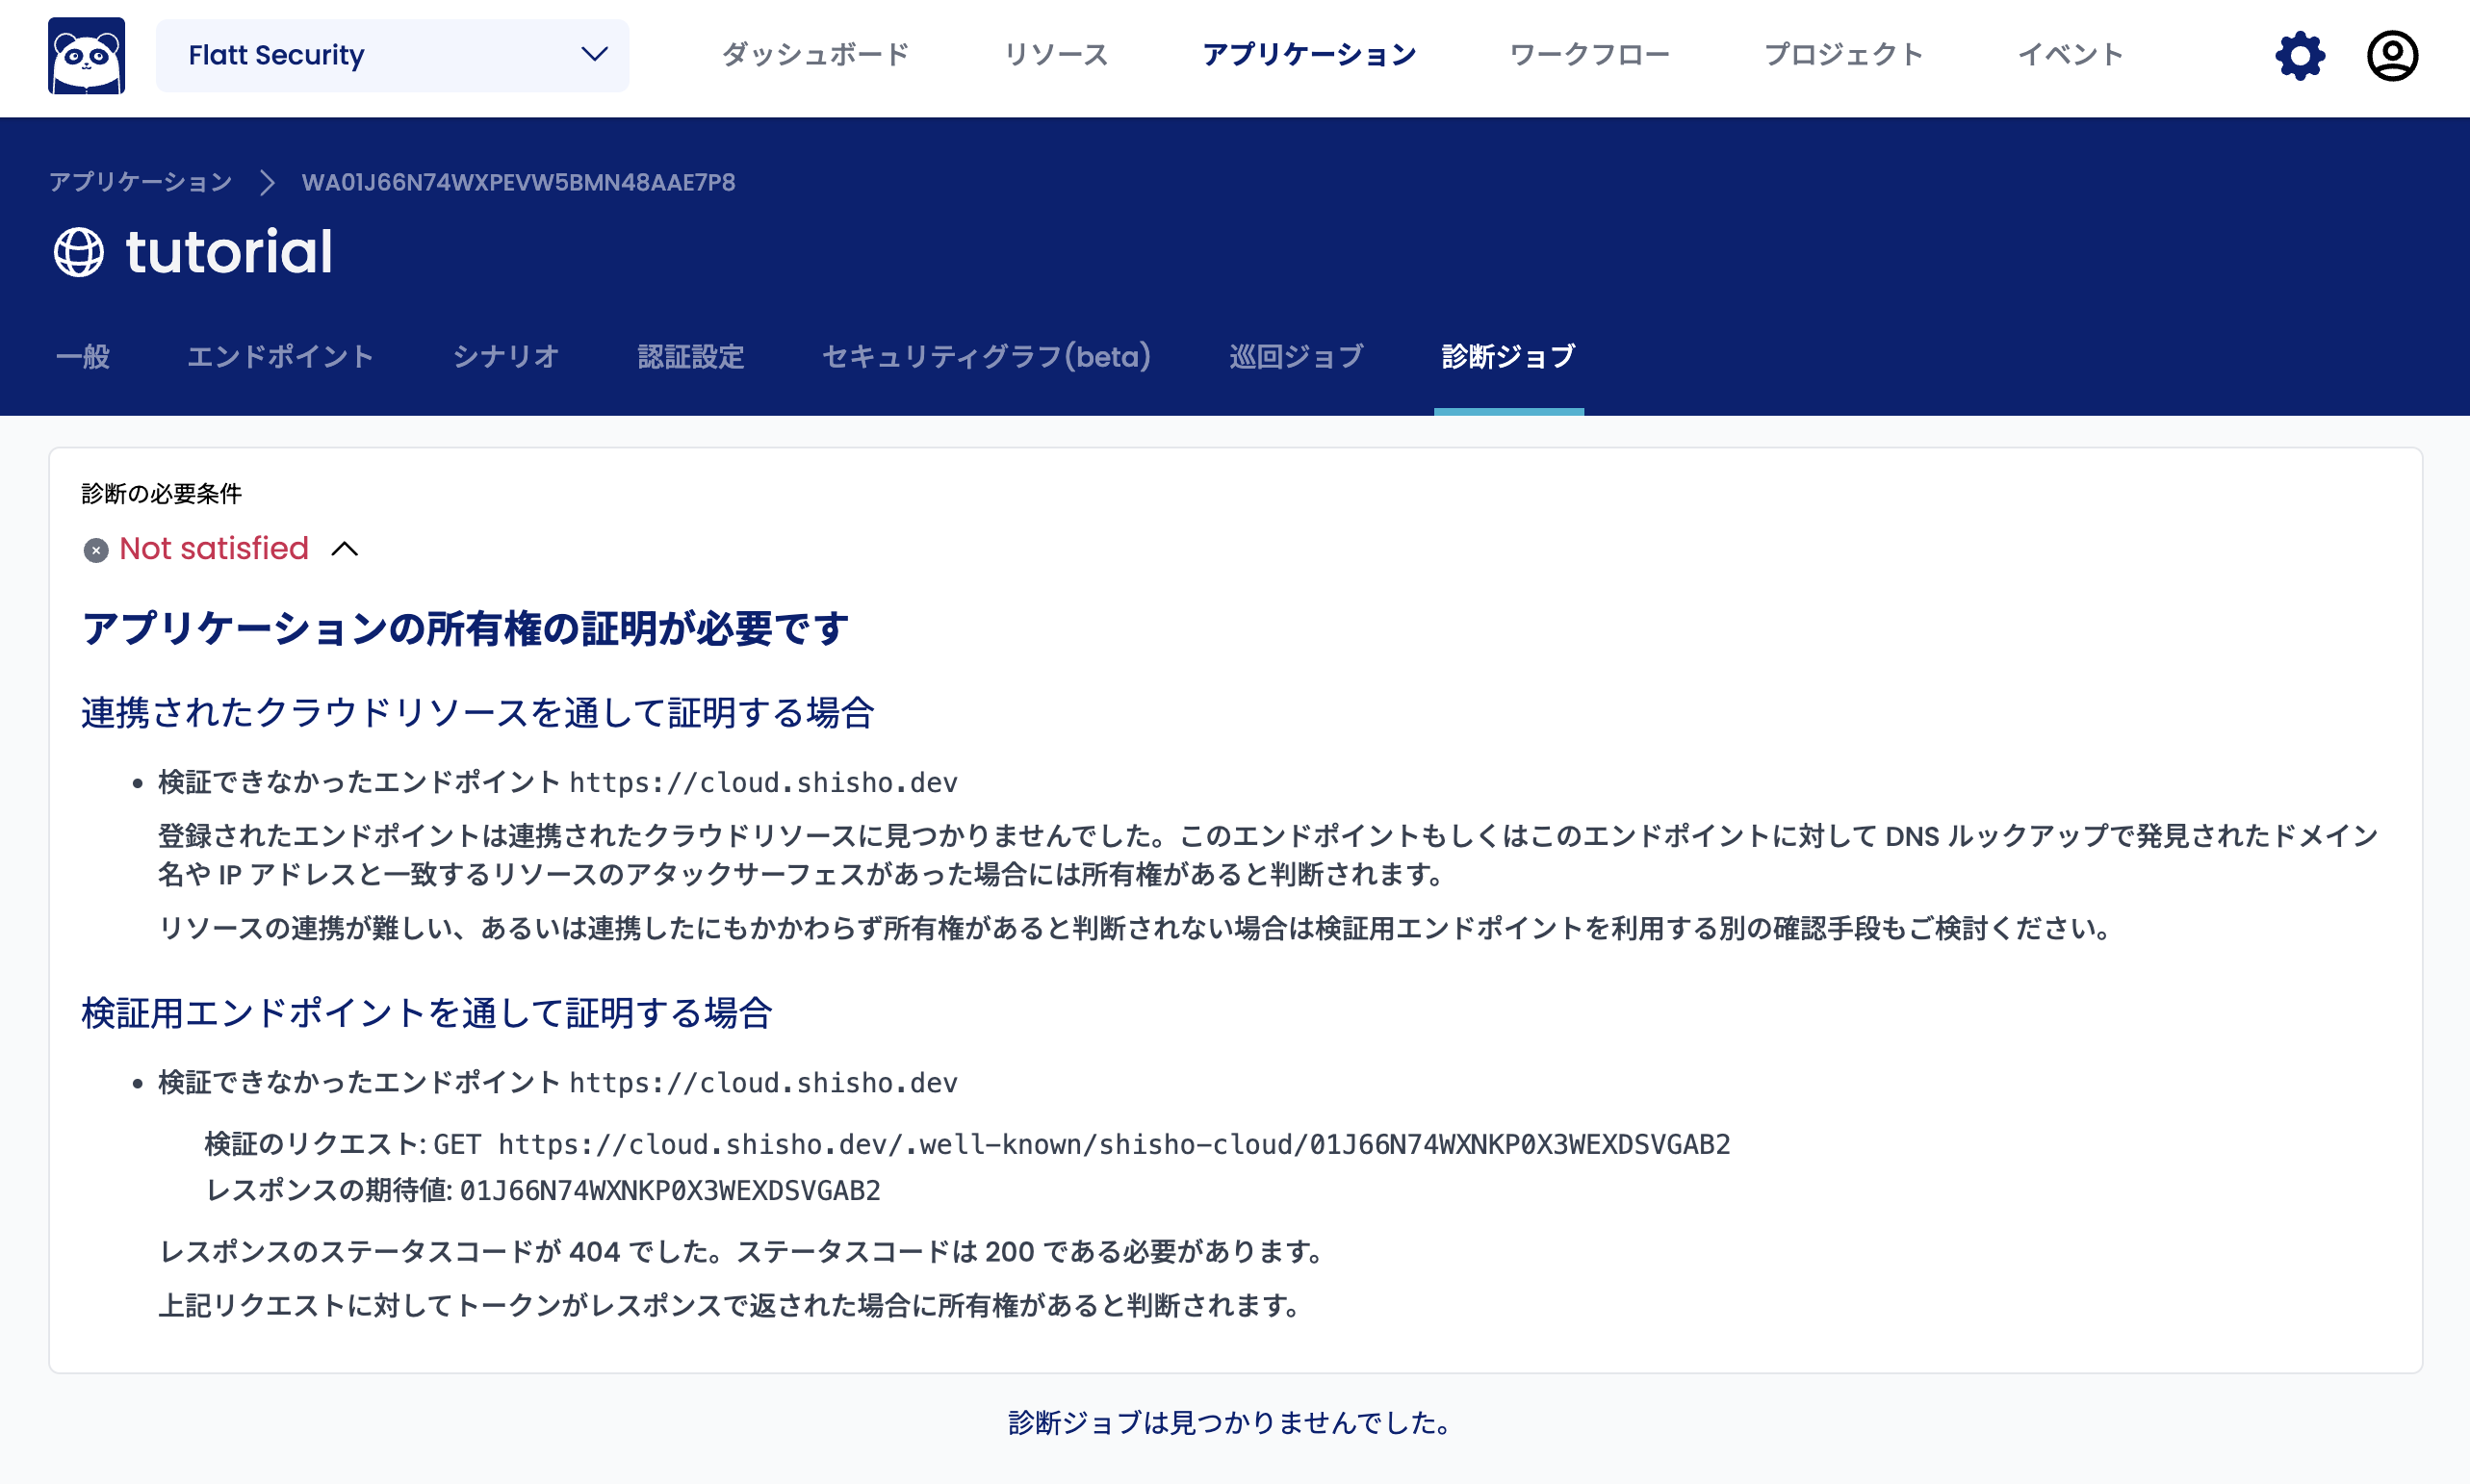
The results of the ownership verification are displayed in the "Scan Jobs" tab (https://cloud.shisho.dev/[orgid]/applications/[appid]/jobs/scan). Verification is also performed when this page is opened, allowing you to check the latest verification results.
Verifying Through Cloud Resources Linked to Shisho Cloud
If the host of the application being scanned is on a cloud resource linked to Shisho Cloud, that host is considered verified. If the connection already exists, there is typically no need for action. To link cloud resources, see Configure external integrations.
Hosts detected by Shisho Cloud can be found in the "Applications > Attack Surfaces" tab.
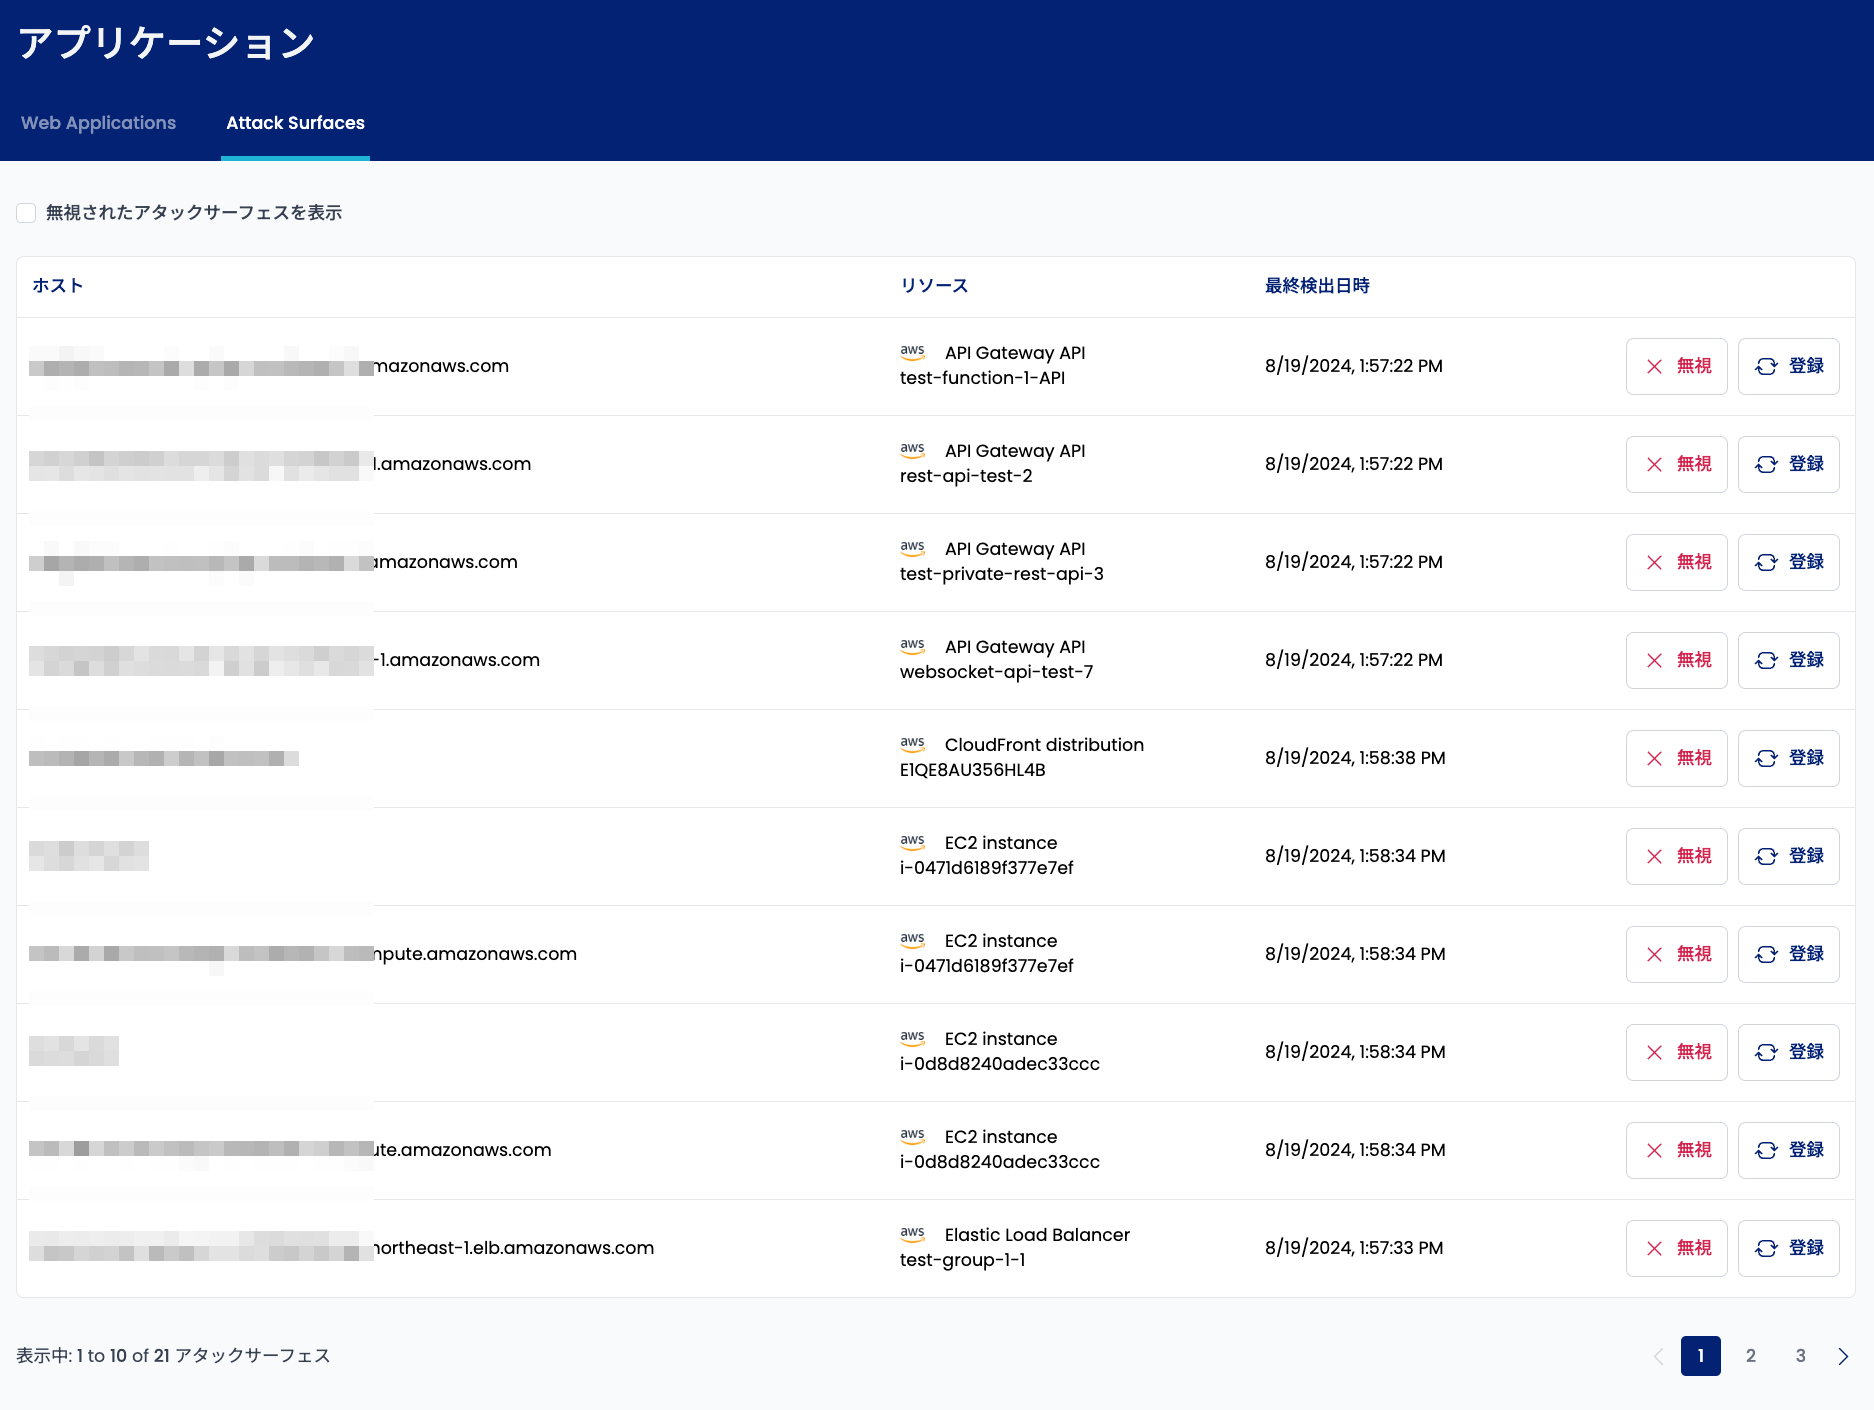
Depending on the configuration of your cloud resources, Shisho Cloud may not be able to correctly detect hosts even if they are linked. If that happens, please feel free to contact the operator (Flatt Security).
If you are not using a cloud service, or if you are using one but have difficulty linking resources, consider verifying through the verification URL.
Verifying Through a Verification URL
To prove ownership of the host of the application to be scanned through a verification URL, the specified URL must return the application verification token.
Requests sent by Shisho Cloud:
GET http[s]://<host>/.well-known/shisho-cloud/<application verification token>
Responses returned by the host of the application being scanned:
Status: 200 OK
Body: <application verification token>
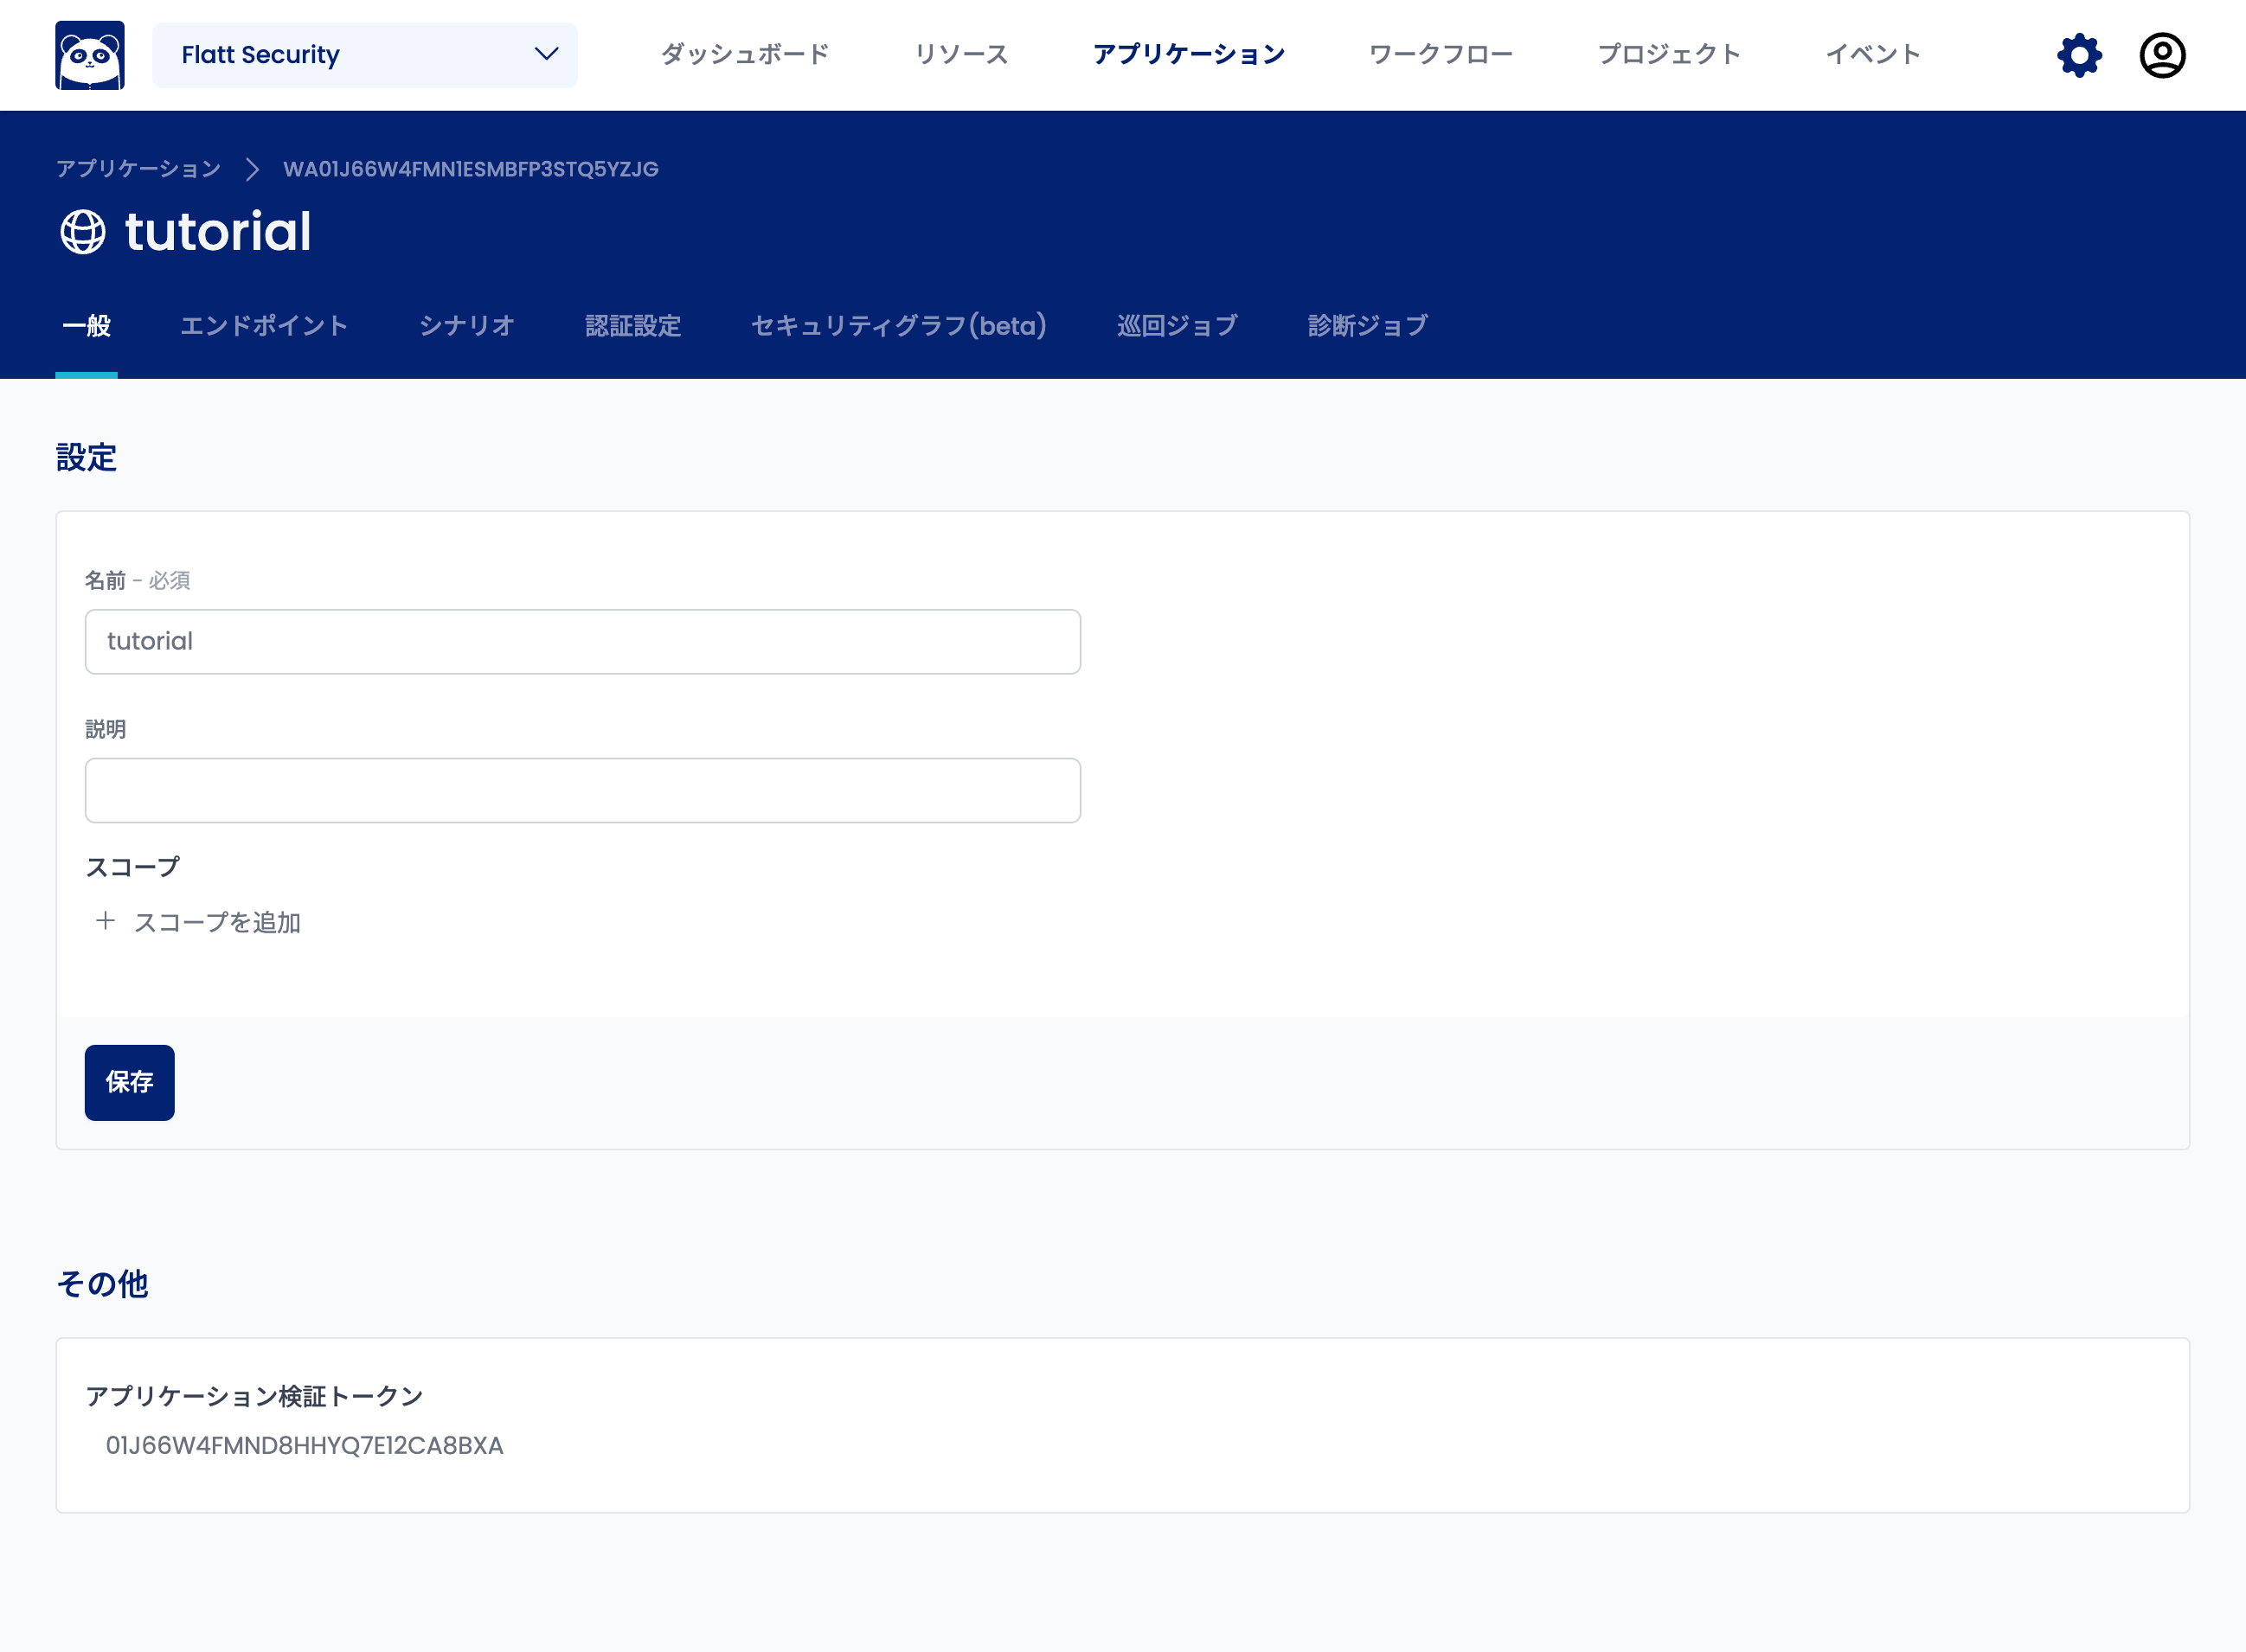
The application verification token can be found in the "General" tab (https://cloud.shisho.dev/[orgid]/applications/[appid]).
For example, to verify the host sample-app.com with the token 01J5TAXF0RV6G9DVH4BPM1SX1G, Shisho Cloud will send the following request:
GET http://sample-app.com/.well-known/shisho-cloud/01J5TAXF0RV6G9DVH4BPM1SX1G
If sample-app.com returns a status code of 200 OK and the following body in the response, the ownership of this host is proven:
01J5TAXF0RV6G9DVH4BPM1SX1G
Customizing the Scan Schedule (Optional)
By default, web scans are run daily at 00:00 UTC (09:00 JST). You can customize the scan schedule using the cron format or disable scheduled execution to allow only manual execution.
Web application scans are run periodically by "Workflows." You can access the details screen for the workflow that runs the web scan here or here.
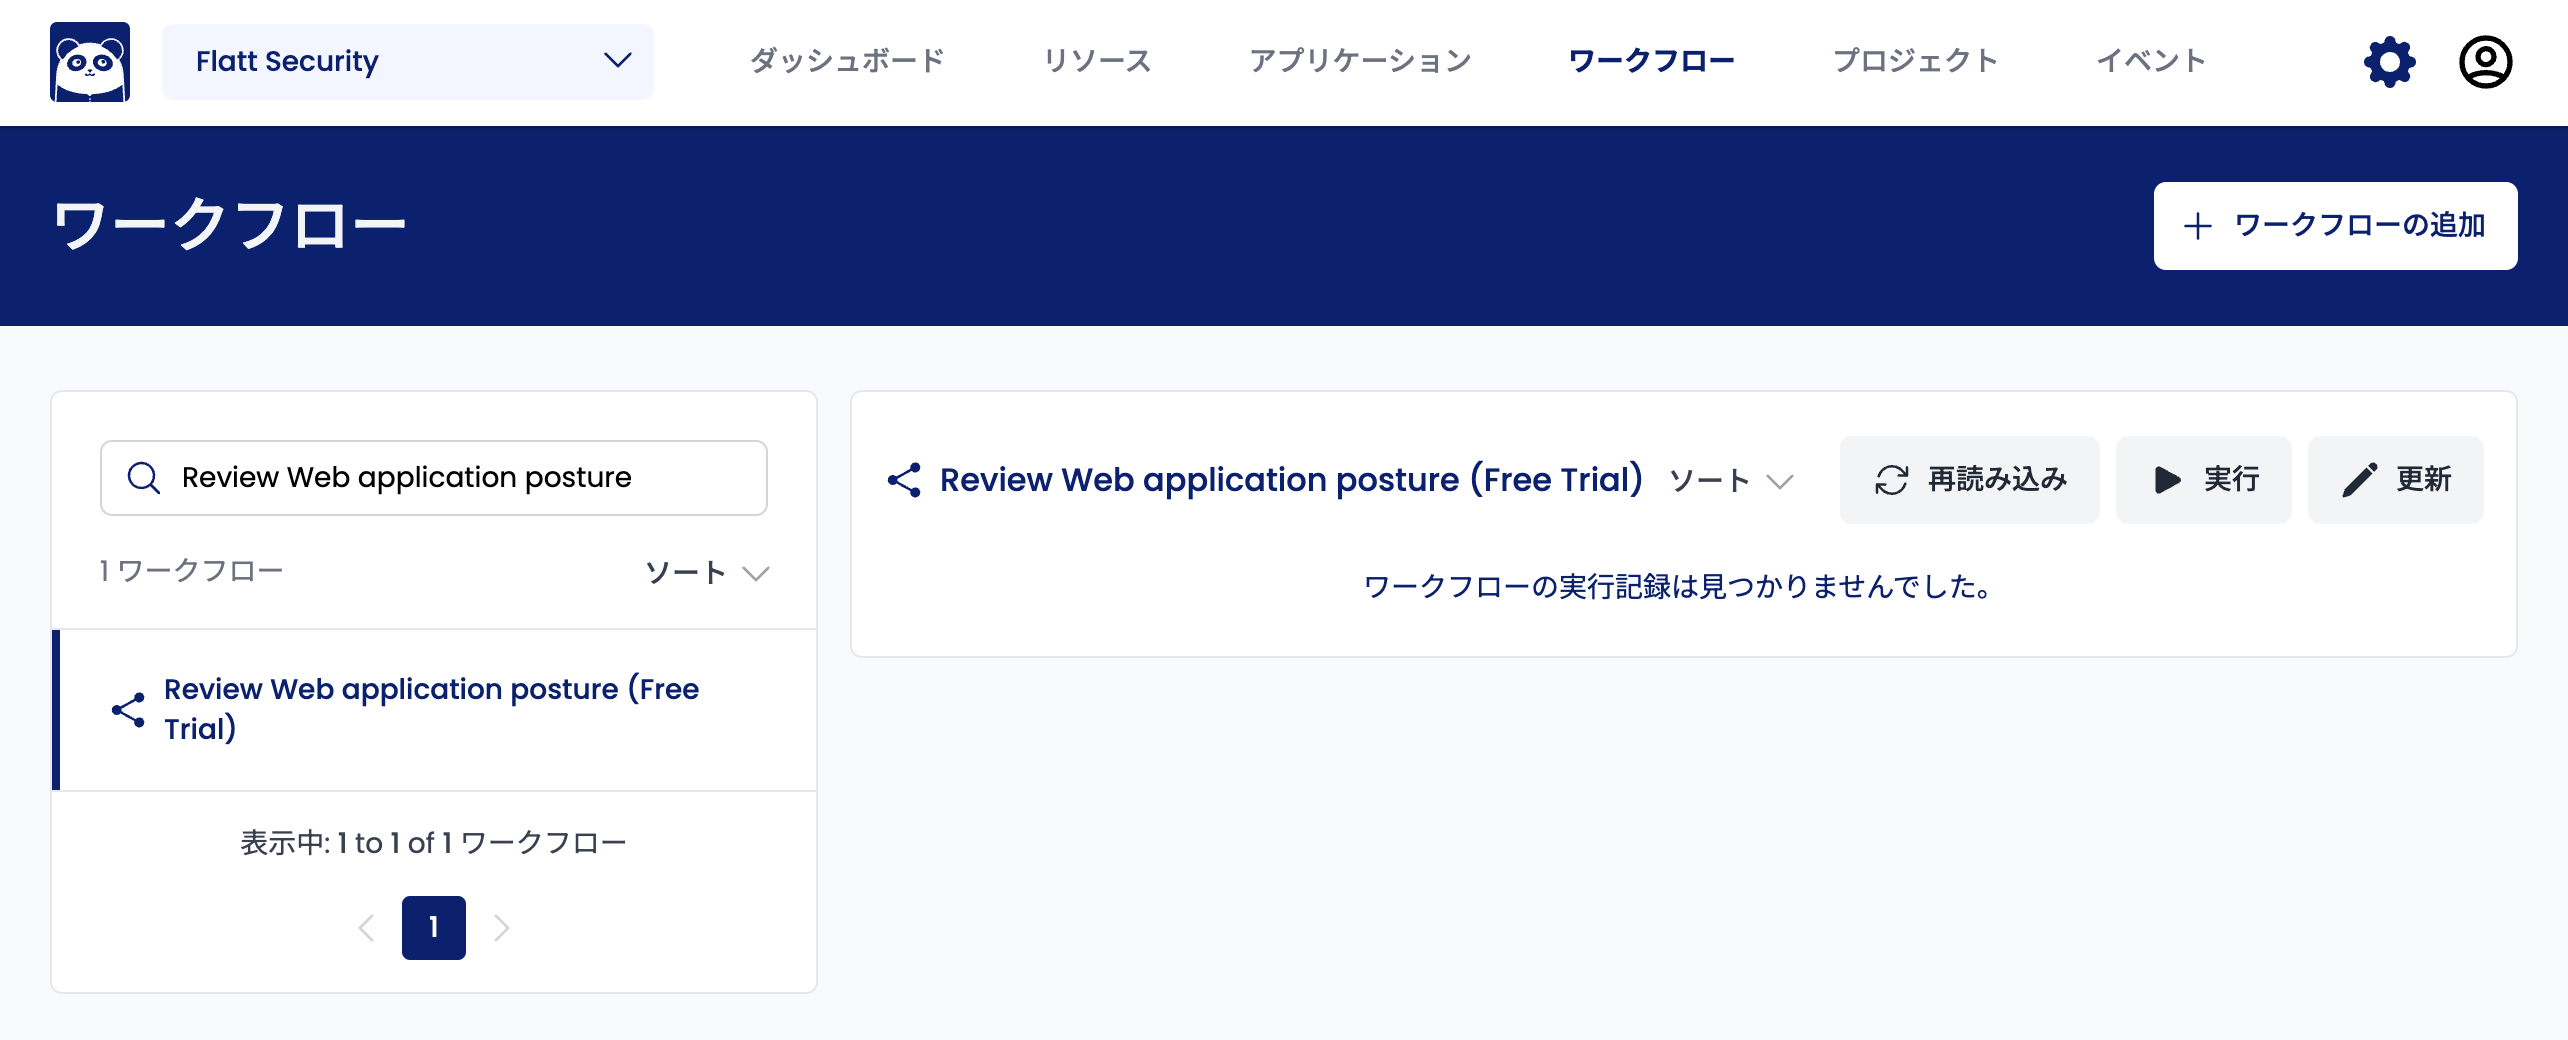
To change or disable the scan schedule, first click on the "Update" button on the right side of the screen.
The schedule is specified in .triggers.schedule[].cron as follows:
version: 0.1.0
id: "free-trial-web-scanning"
name: "Review Web application posture (Free Trial)"
triggers:
  schedule:
    - cron: "0 0 * * *"
# (abbreviated)
To change the schedule, simply enter the desired schedule in cron format and click the "Save" button. For example, if you want to run the scan every day at 12:00 UTC (21:00 JST), set it as follows:
version: 0.1.0
id: "free-trial-web-scanning"
name: "Review Web application posture (Free Trial)"
triggers:
  schedule:
    - cron: "0 12 * * *"
# (abbreviated)
The cron schedule uses UTC time. Please consider the time difference between your time zone and UTC when setting the schedule.
To disable the schedule, make the following changes and click the "Save" button:
version: 0.1.0
id: "free-trial-web-scanning"
name: "Review Web application posture (Free Trial)"
triggers:
  schedule: []
# (abbreviated)
For more information about trigger settings for workflows, see here.
Running a Scan
Running a Scan from the Workflow (Optional)
By default, web application scans are run daily at 00:00 UTC (9:00 JST). If you want to run the scan immediately, without waiting for the scheduled execution, follow the steps below.
Web application scans are run periodically by "Workflows." You can access the details screen for the workflow that runs the web scan here.
This workflow runs the web scan. Click the "Run" button on this screen to run the web scan against all registered web applications.
To check the status and progress of the scan, open Applications (https://cloud.shisho.dev/*/applications) in the top bar, click the target application from the list, and open the details page. Then, open the "Scan Jobs" tab (https://cloud.shisho.dev/[orgid]/applications/[appid]/jobs/scan) to view the execution history of the scans.
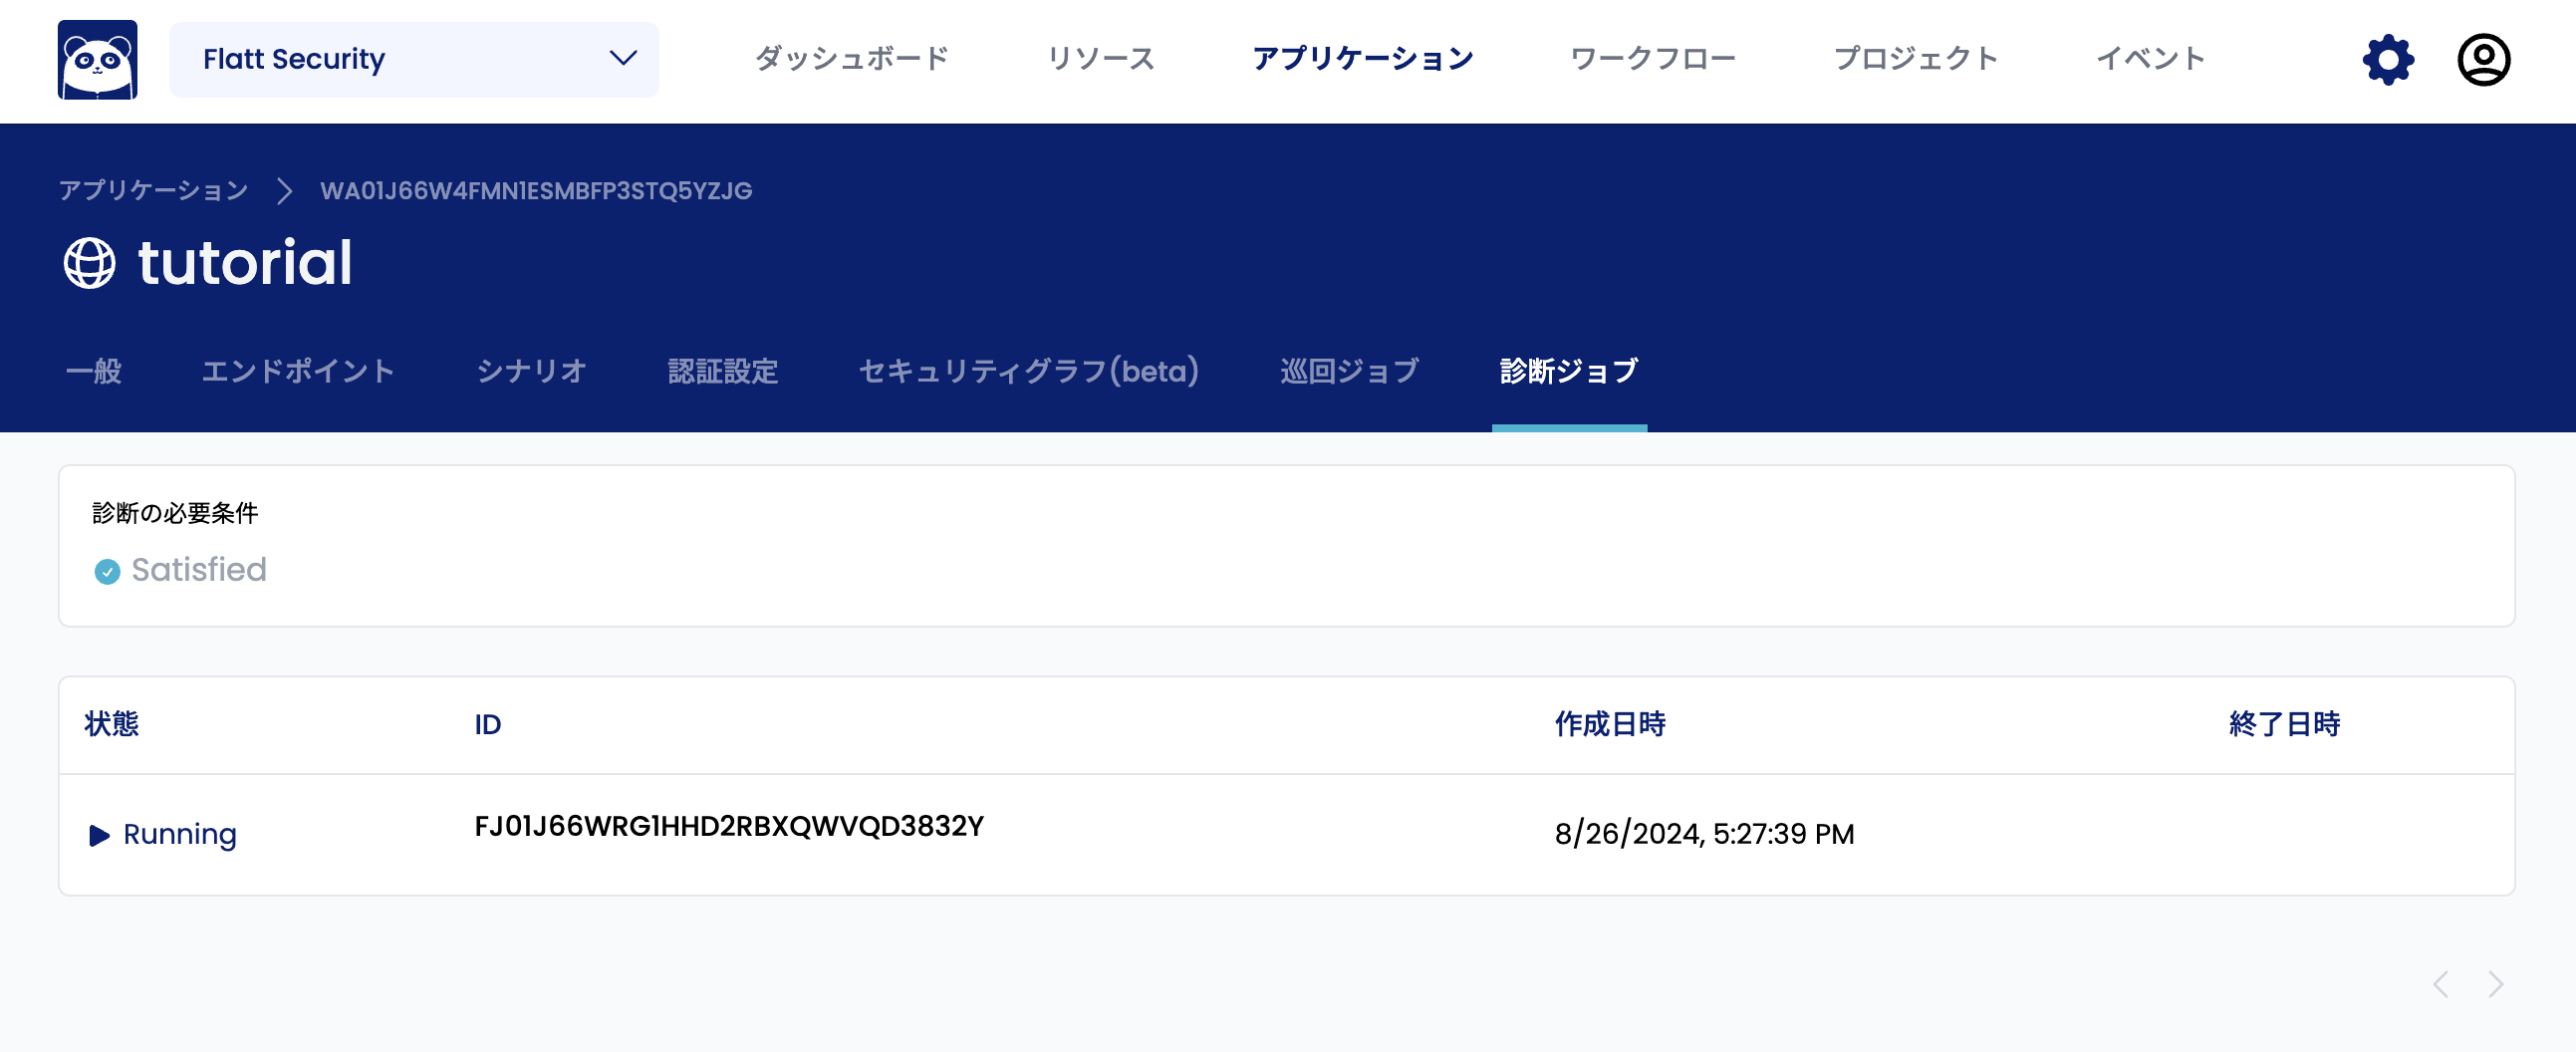
You can check the progress of the scan job by clicking the running scan job and opening the job details screen (https://cloud.shisho.dev/[orgid]/applications/[appid]/jobs/scan/[jobid]).

Viewing Scan Results
Once the scan job successfully completes, the assessment results will appear on the Dashboard and in Resources. For more information, see Reviewing Findings.