Notification Targets
The English user guide is currently in beta preview. Most of the documents have been automatically translated from the Japanese version. Should you find any inaccuracies, please reach out to Flatt Security.
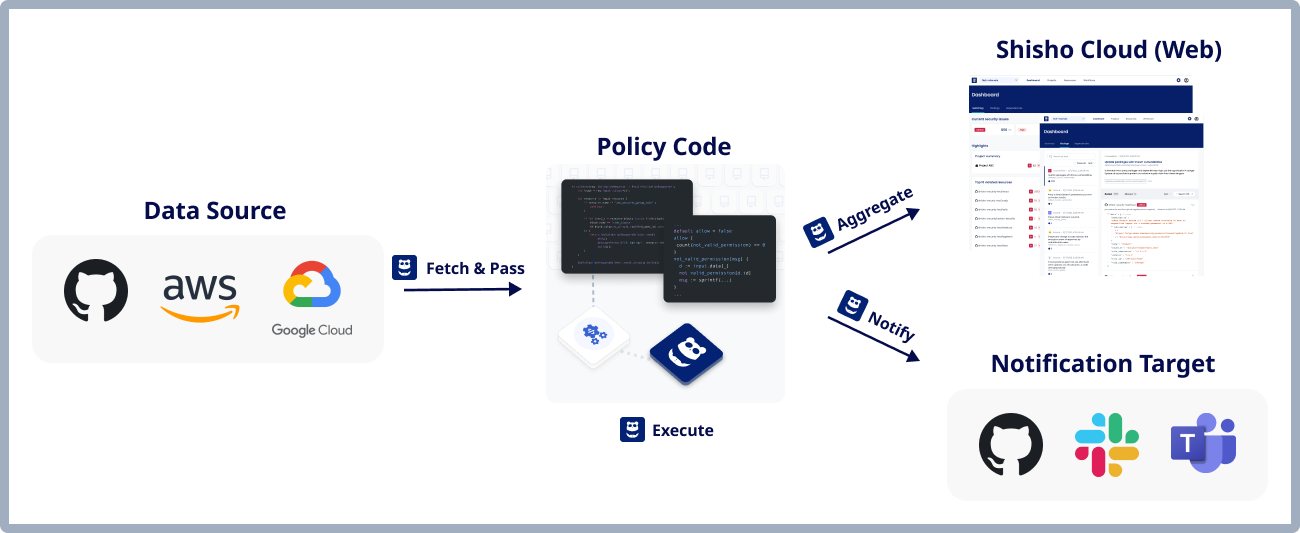
When Shisho Cloud detects a policy violation, you can view it on the Shisho Cloud dashboard and send notifications to external services.
Notifications from Shisho Cloud to External Services
All notifications are managed through workflows.
Specifically, the notify block within a workflow's job controls notifications.
For example, the following manifest defines a workflow that sends notifications to the notification group with the ID NGFOO:
jobs:
  - name: check-with-foobar
    id: check-with-foobar
    decide:
      # ...
    notify:
      rego: |
        import data.shisho

        notifications[n] {
          n := shisho.notification.to_group(
            "NGFOO",
            "test"
          )
        }
Notification Targets
Shisho Cloud can send notifications to entities called notification targets.
Supported Notification Targets
Shisho Cloud currently supports the following notification targets:
- Slack channels
- Comments on GitHub Issues and Pull Requests
- Email addresses
You might need to configure additional settings depending on the notification target. For more information, see the next section.
Configuring Notification Target Settings
You might need to configure additional settings to receive notifications depending on the notification target type.
Configuring Slack Notifications
To receive notifications on a Slack channel, complete the Slack workspace integration process and add the Shisho Cloud Slack app to the Slack channel:
You must perform this configuration on the Slack side.
-
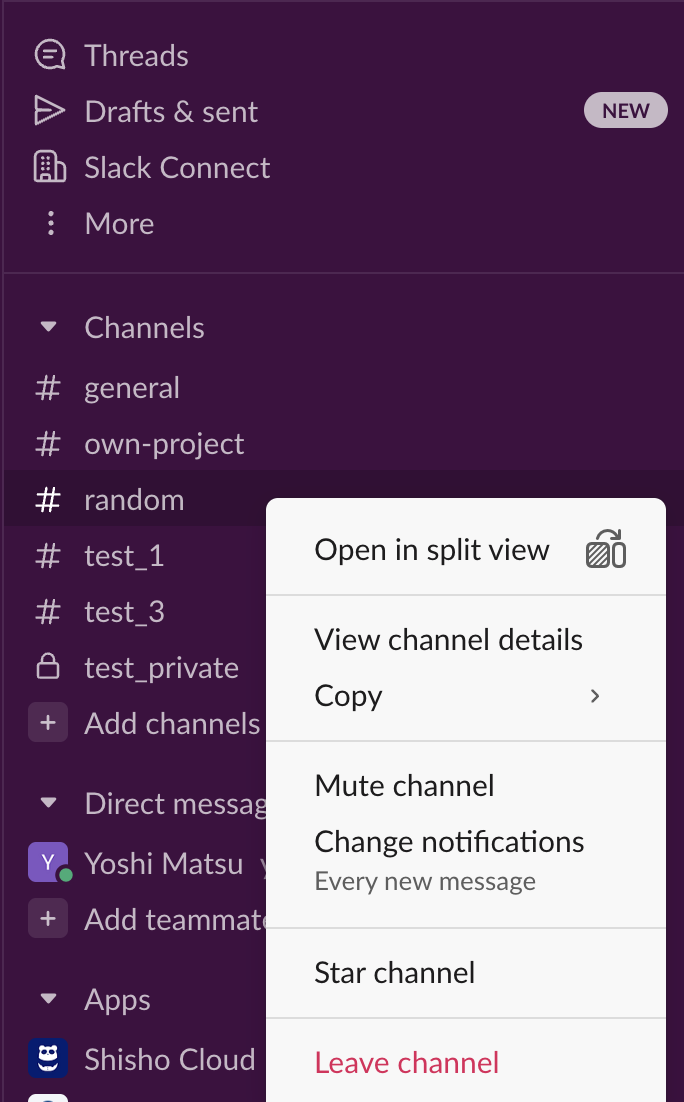
Right-click the Slack channel where you want to receive notifications, and select "View Channel Details."
-
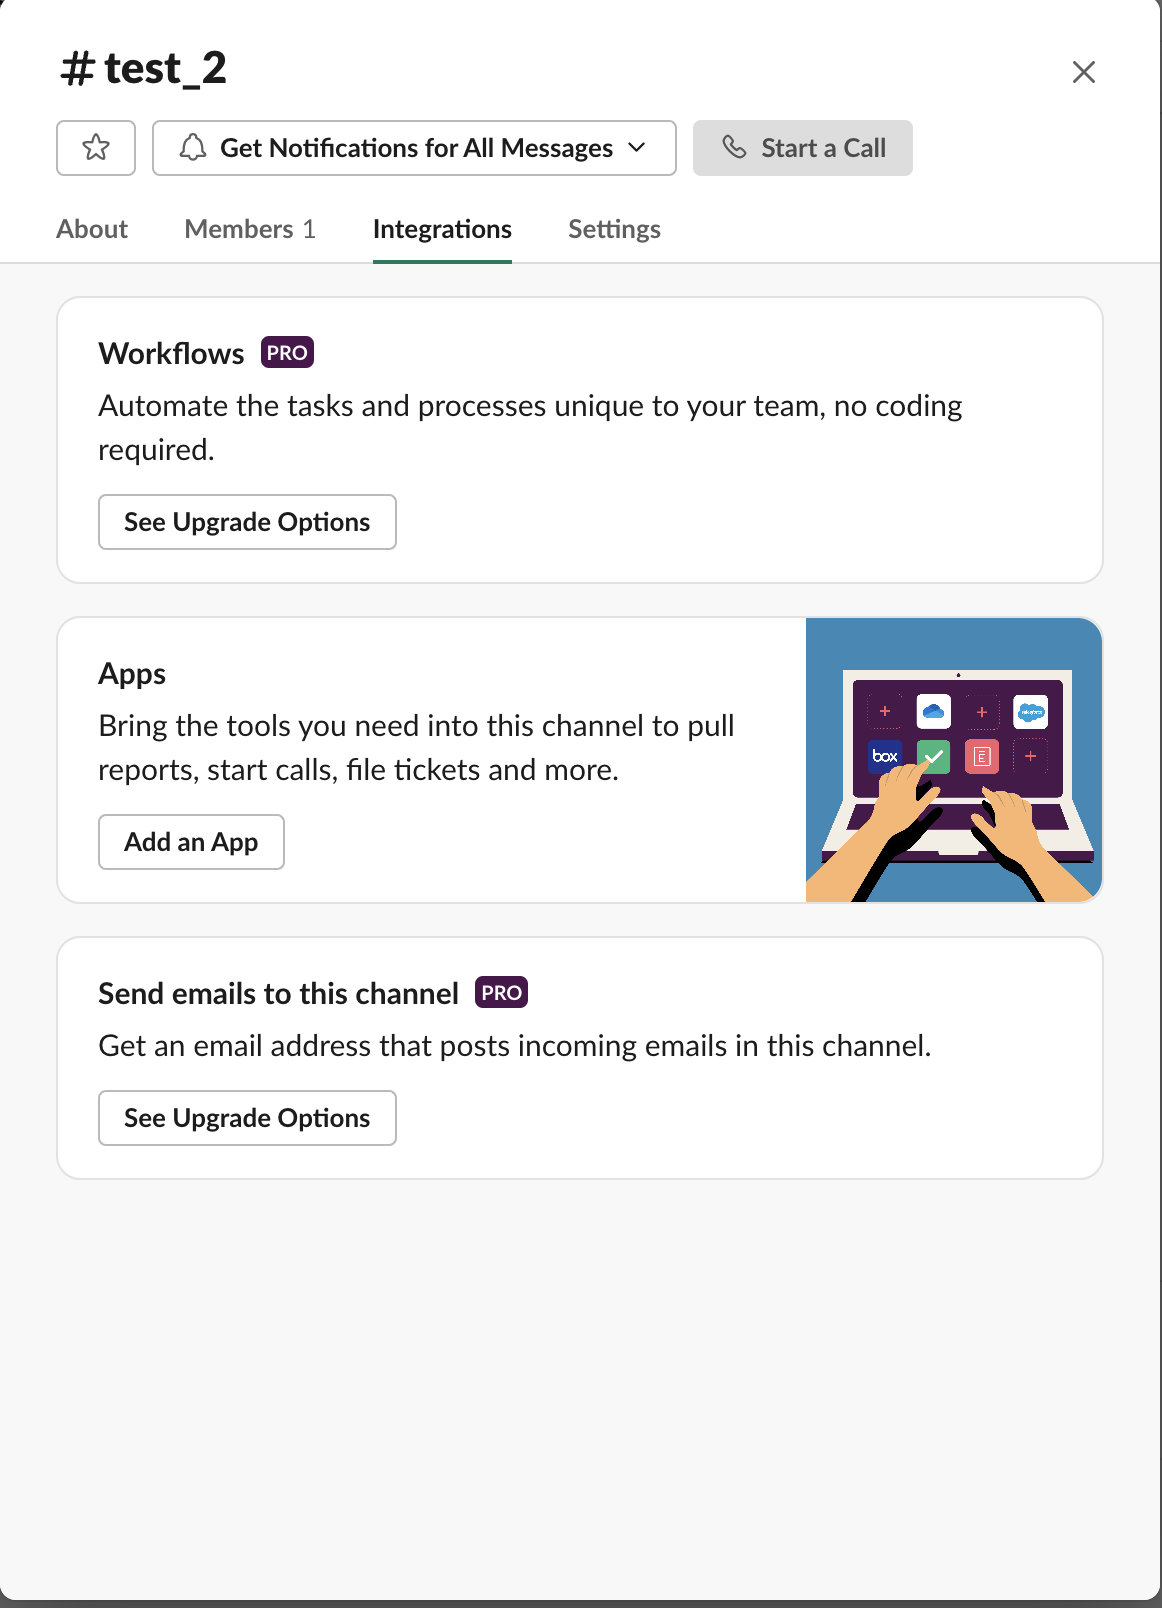
Select the Integrations tab, and then select Add an App.
-
Search for the Shisho Cloud app, and then select Add to invite it to your Slack channel.
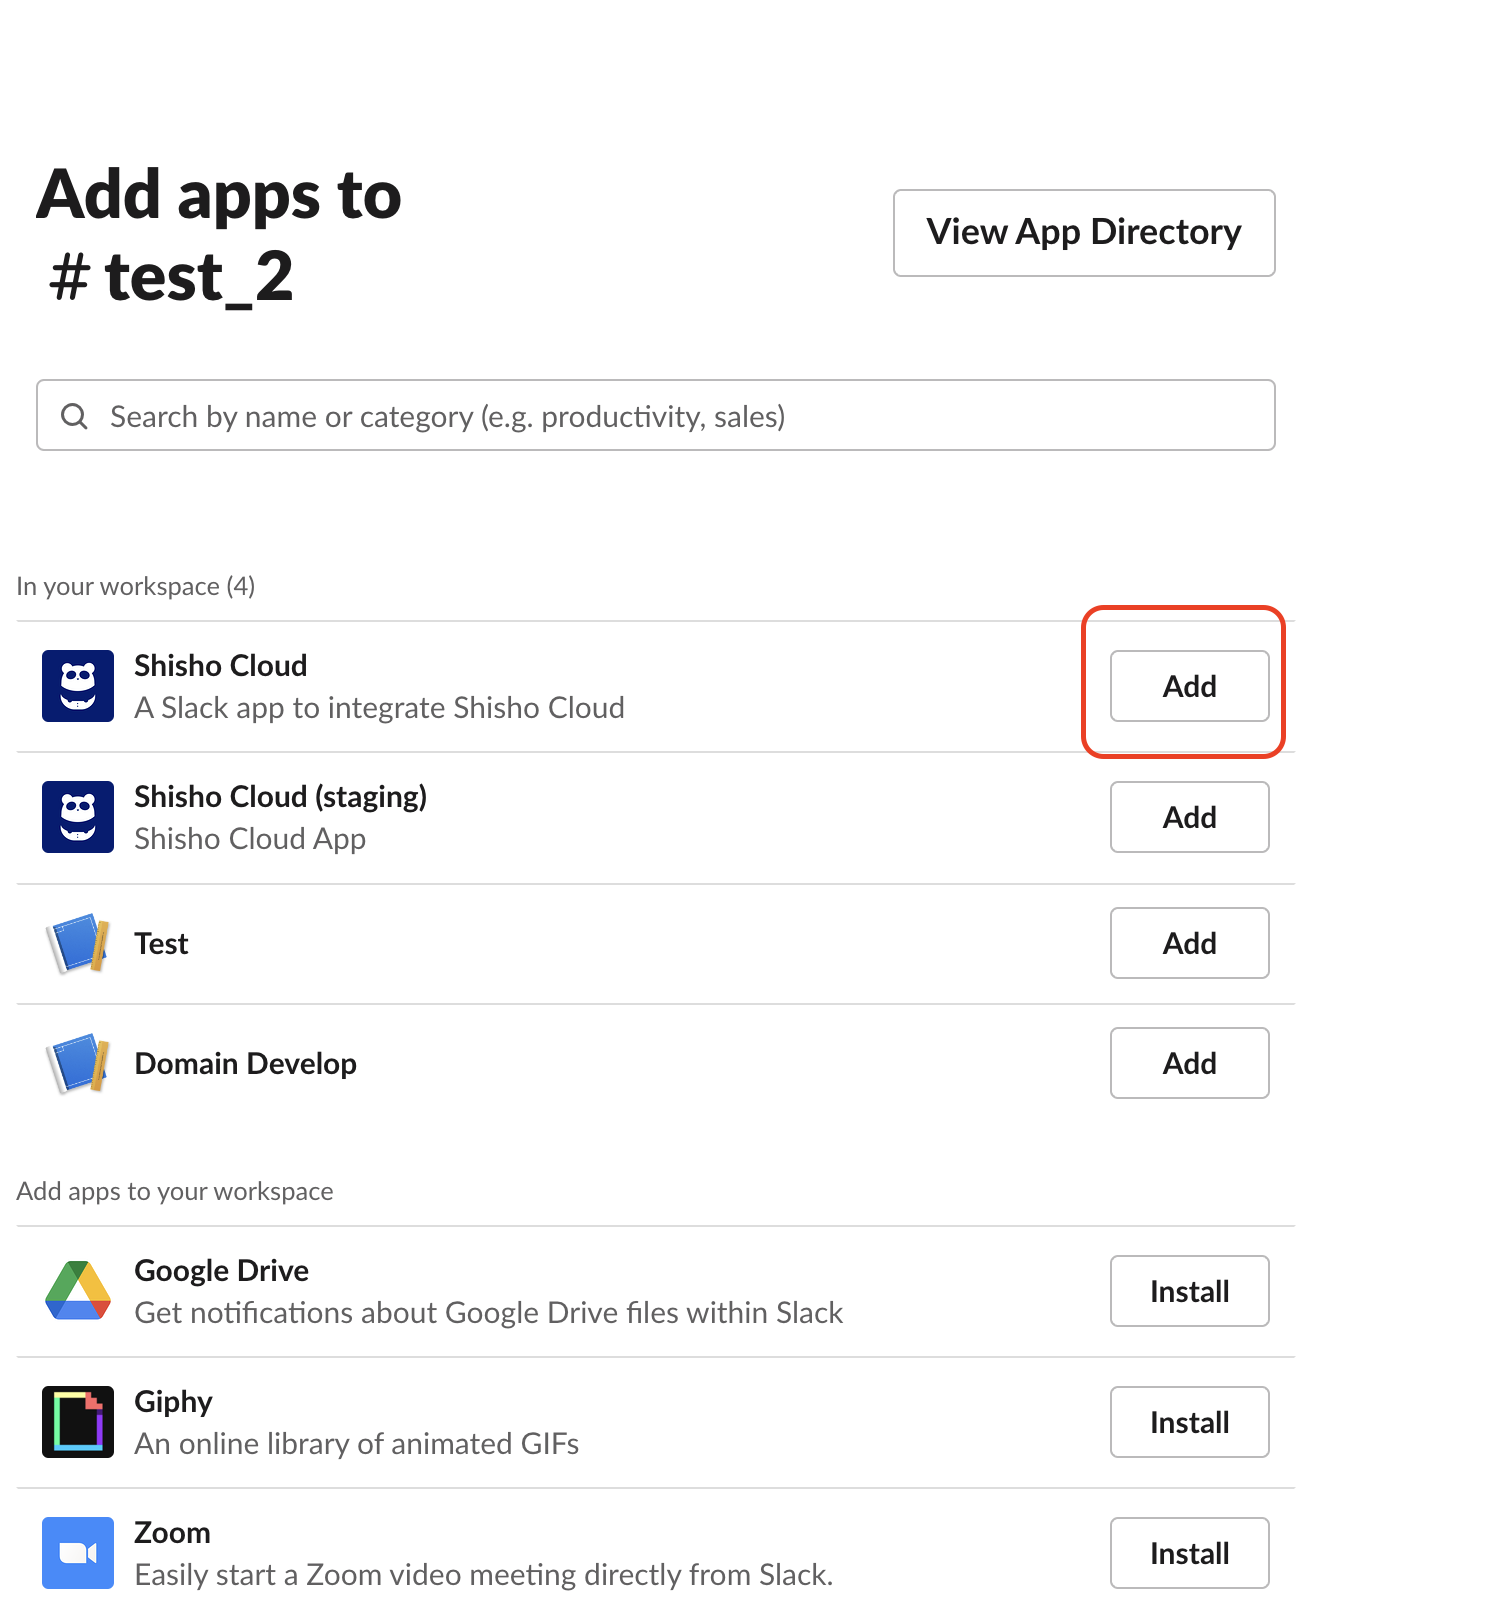
If the Shisho Cloud app doesn't appear, Shisho Cloud might not be integrated with your Slack workspace. Complete the Slack workspace integration process.
If you can't find the menu items described in these steps, Slack might have updated its user interface or your Slack workspace owner (administrator) might have restricted access. If you can't integrate Shisho Cloud and your Slack workspace, contact Flatt Security.
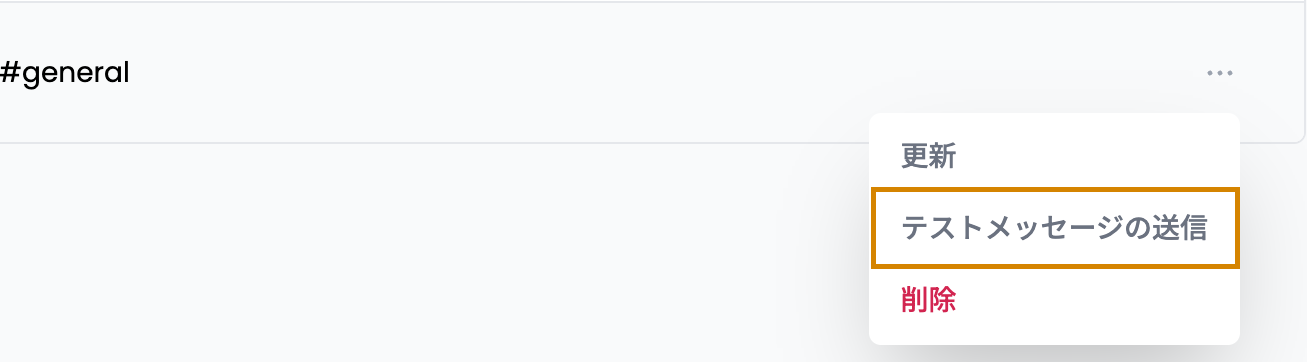
Sending a Test Message to a Slack Channel
To verify that the settings are correct before using the notification feature in a workflow, send a test message to the Slack channel by selecting Send test message:
If the settings are correct, the following test message appears in your Slack channel:

If the message doesn't appear, the Slack workspace integration process might not be complete or the Shisho Cloud Slack app might not be added to the Slack channel. If you still can't receive the test message, contact Flatt Security.
Configuring Email Notifications
Shisho Cloud prevents notifications to email addresses that aren't associated with users in your organization. Therefore, adding those email addresses to a notification group or policy doesn't send notifications. To send notifications to those addresses, add them to the "Mail Sending Permission List".
Notifications to the email addresses of users in your organization (the email addresses used to register with Shisho Cloud) are implicitly allowed and don't need to be added to the Mail Sending Permission List.
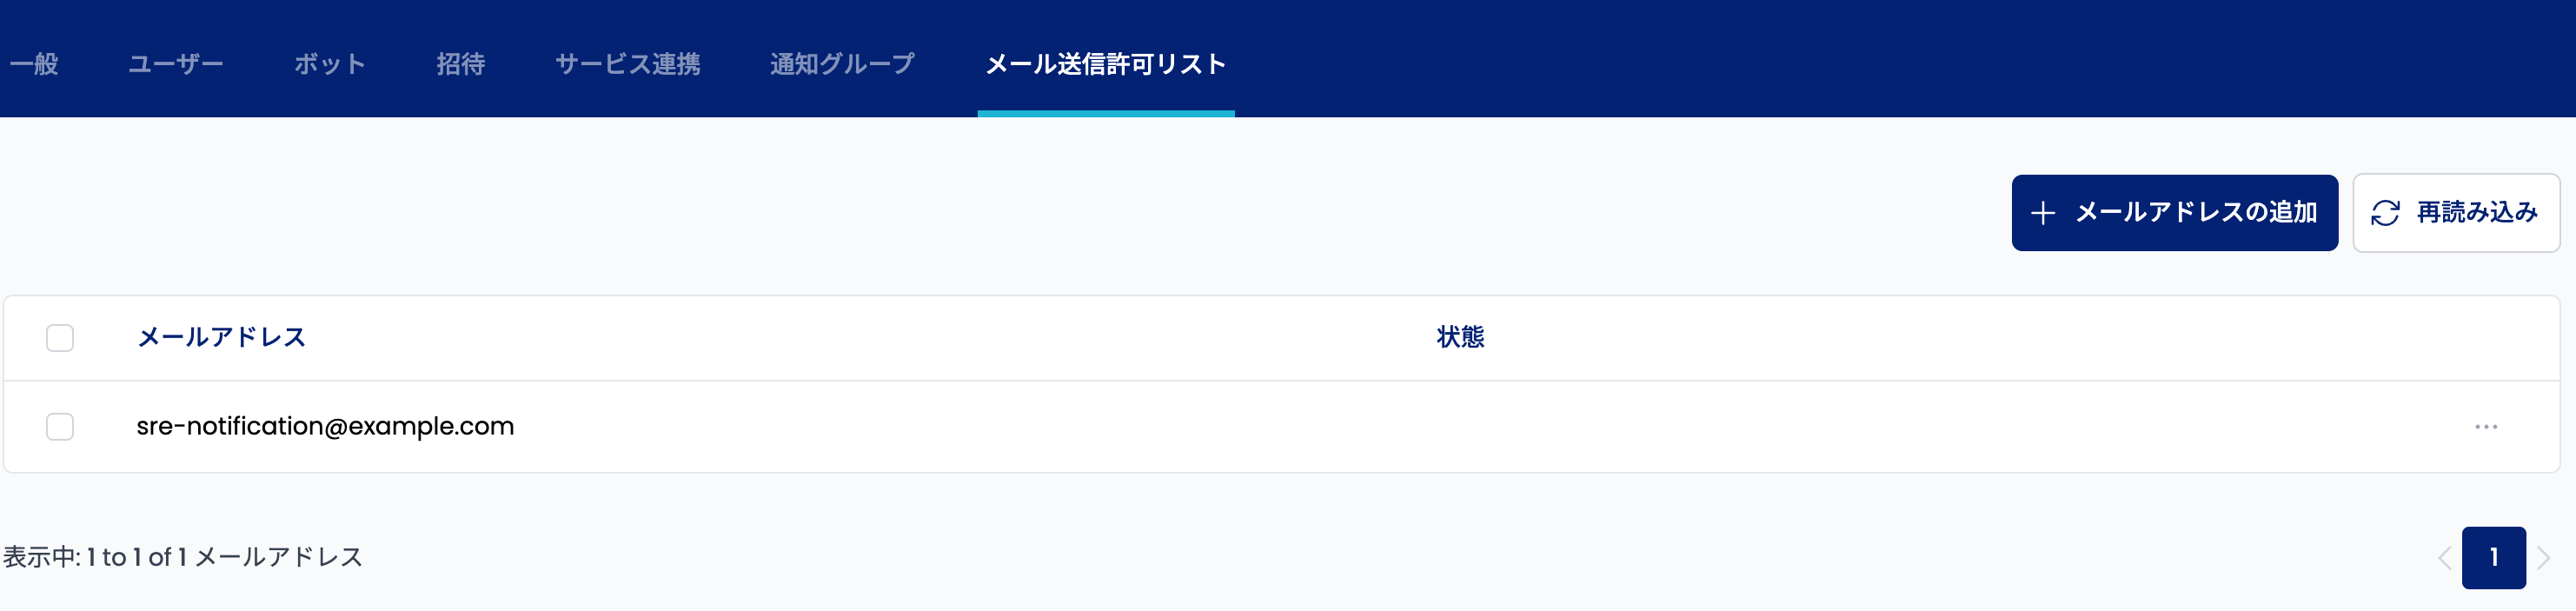
To manage the Mail Sending Permission List, select Settings (⚙) > Mail Sending Permission List.
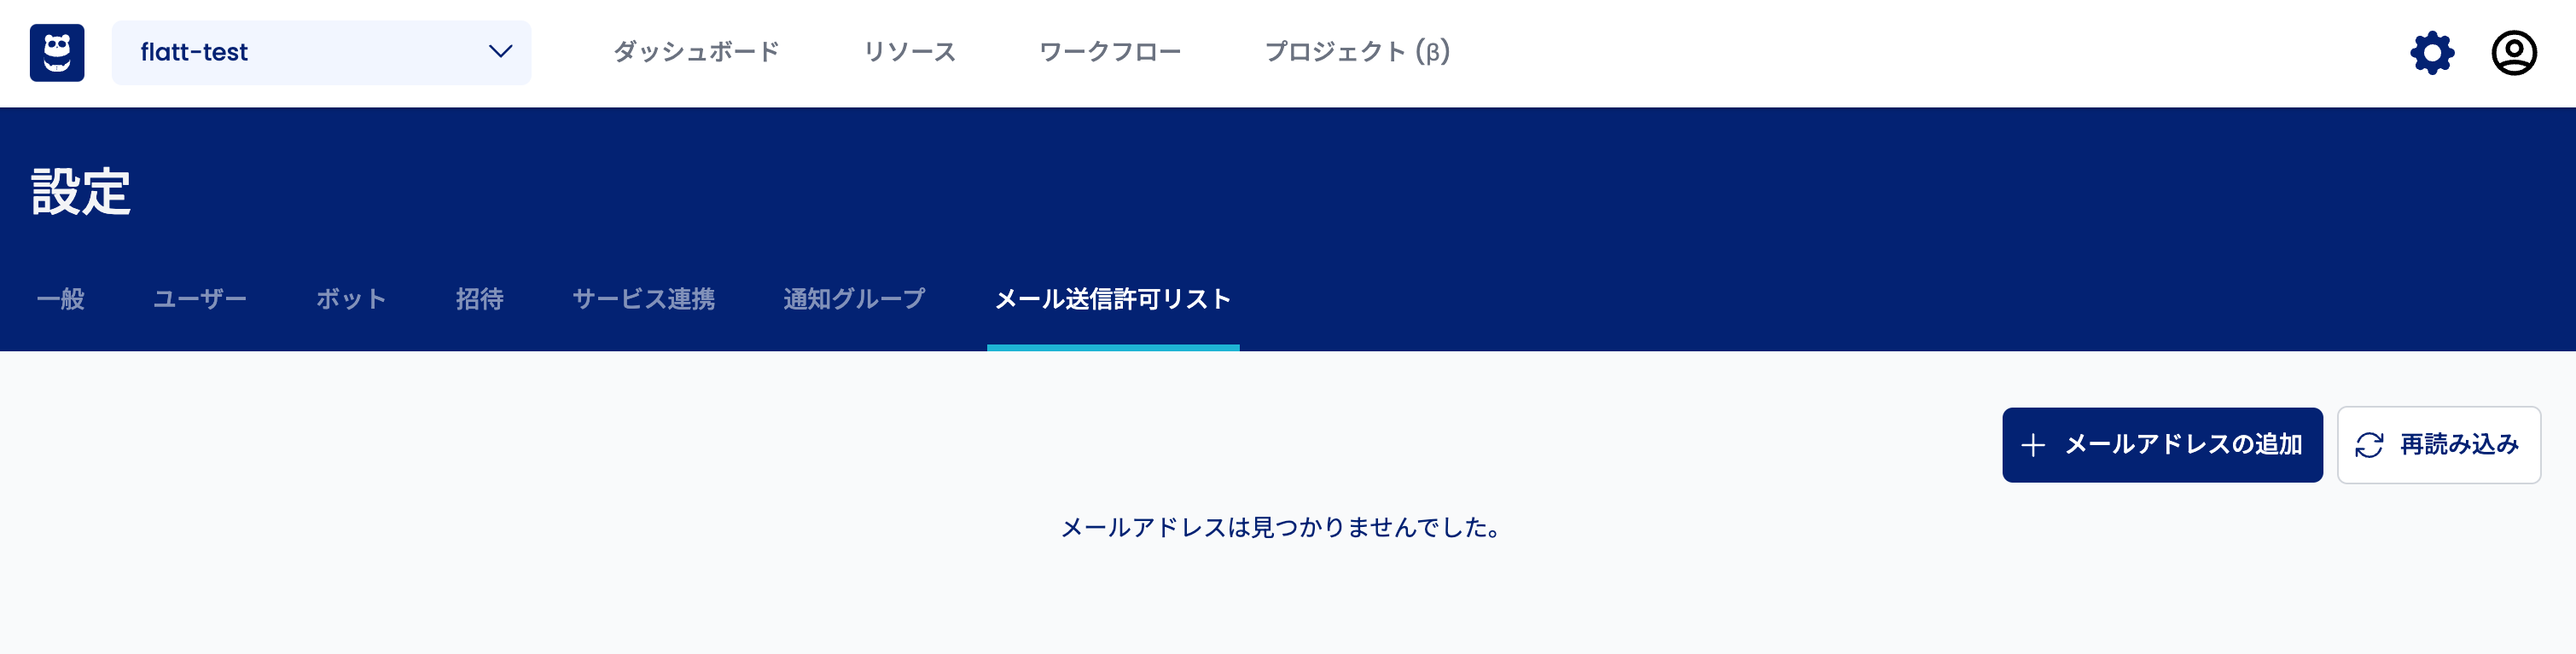
To add an email address to the Mail Sending Permission List, follow these steps:
-
Select Add Email Address. A modal appears.
-
Enter the email address in the modal, and then select Add.
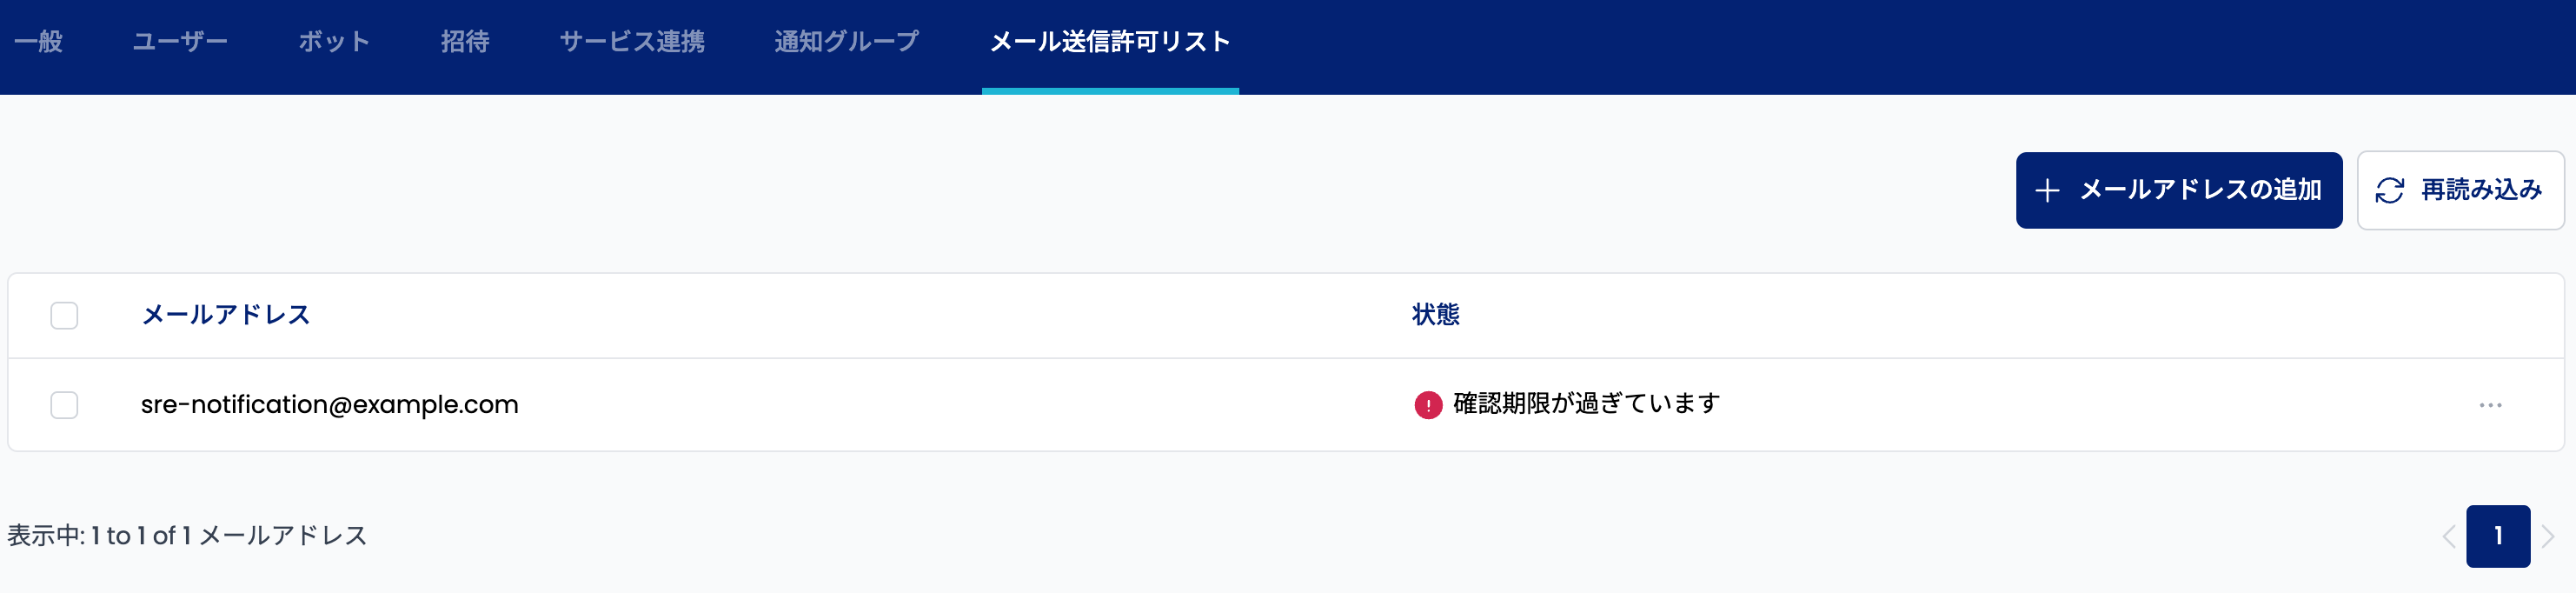
If the email address is added successfully, it appears in the list. However, Shisho Cloud sends a confirmation email to the address to verify its validity. You must verify the email address before it can receive notifications.

The confirmation email is valid for 24 hours. If you don't verify the email address within 24 hours, the status changes and the message updates.
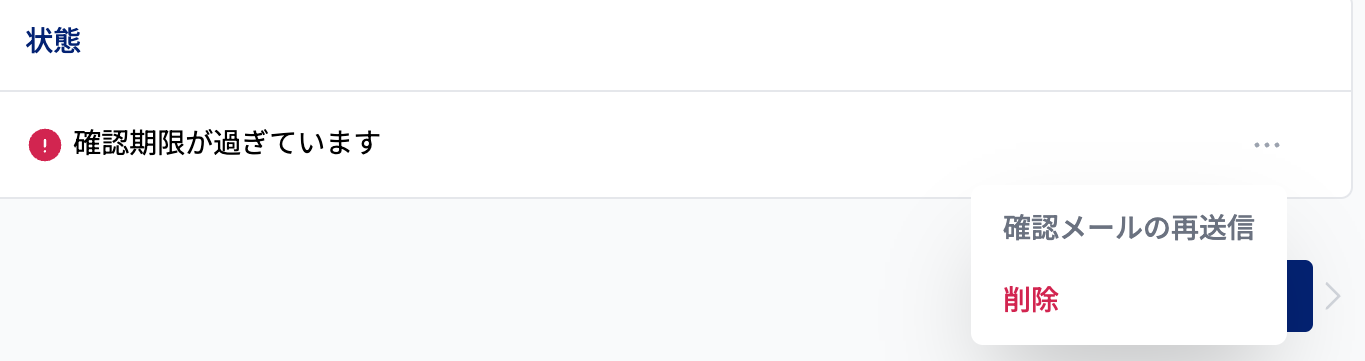
To resend the confirmation email, select Resend Confirmation Email. You can resend the confirmation email before it expires, but only the link in the most recent email is valid. If you select a link in an older email, you'll receive an error.
After you verify the email address, the Status column is empty. The email address can now receive notifications.
To prevent data leaks, remove unused email addresses from the Mail Sending Permission List. To remove an email address, select Delete next to the email address. When you delete an email address, a confirmation email isn't sent. To delete multiple email addresses, select the checkbox next to each address, and then select Delete.
If email notifications aren't sent after you configure the Mail Sending Permission List, check your spam folder. If the email notifications aren't in your spam folder, contact Flatt Security.
(Advanced) Using Notification Targets from a Policy
To send notifications to supported notification targets, pass the Notification object from the policy code to Shisho Cloud according to the API between Shisho Cloud and the policy code (for example, API for Inline Rego Policies).
Use the functions under shisho.notification in the Rego SDK.
For example:
import data.shisho

# Send the string "test" as a comment to the specified GitHub Issue
import data.shisho

notifications[n] {
  n := shisho.notification.to_github_issue(
    "org-name",
    "repository-name",
    123456, # issue ID
    "test", # message
  )
}
If the notification feature doesn't work correctly, see the "Workflows" section in the frequently asked questions.